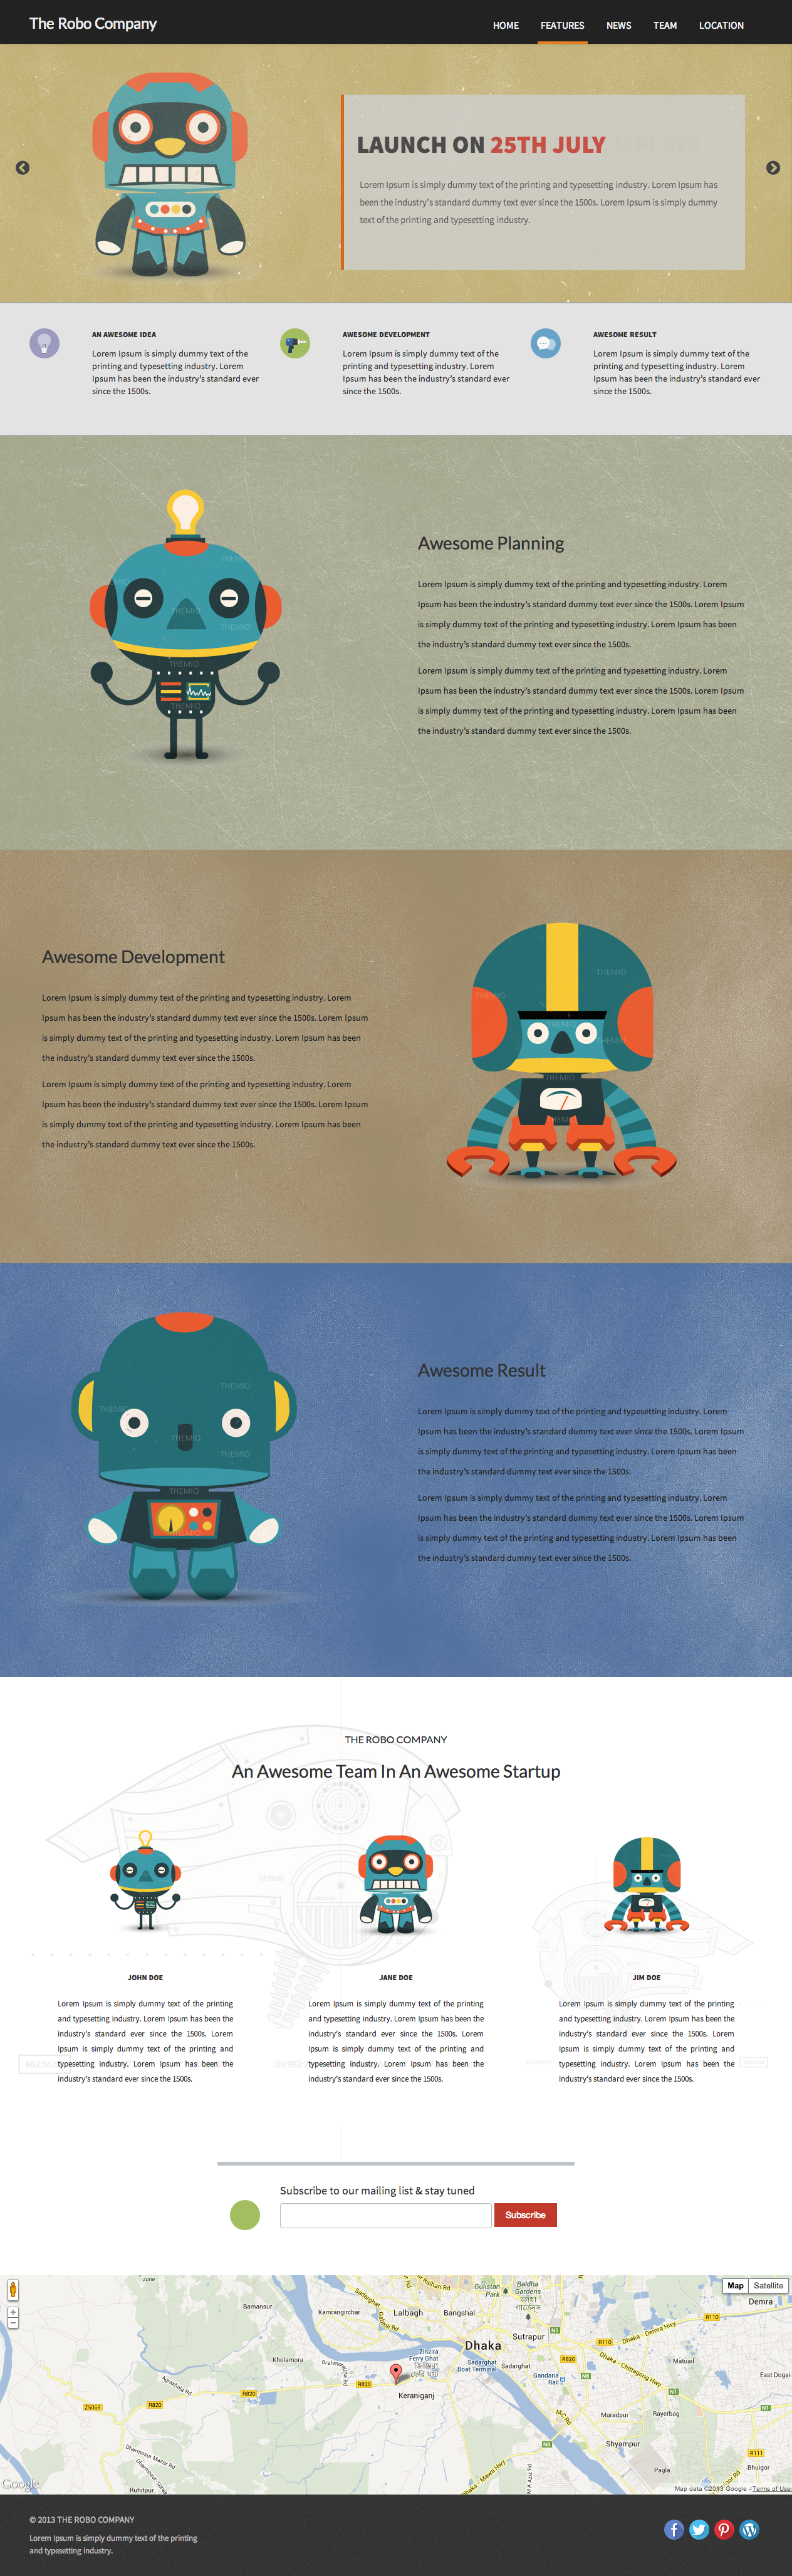
Robo is a small onepage template which is perfect to design a landing page, coming soon or even a small site. Though it’s one page, Robo includes custom post types like sliders, team members, features and google maps. You can showcase your work nicely with Robo.
Robo for WordPress comes with beautiful documentation and includes all the necessary plugins with it, so that you don’t have to worry to leverage all the functionalities provided. Feel free to use Robo in your commercial or personal projects, no link bank is necessary at all.
Smashing magazine released a nice food icon set in partnership with freepik (whooping big, 200 in total) few days ago. As they allow it to modify anyway you want, free for personal and commercial use – I decided to give them a “Flat Icon” flavour. So I picked up 28 of them last night and this is what I have come so far. Since they were little boring (all white, too flat) so I think this little make up made them look good 🙂
You can download this 28 food icons set from Here http://bit.ly/FlatFoodIcons. As the original artist allowed them to be used and modified anyway (personally and commercially) so feel free to use this derivative works anyway you want to.
My plan is to color all of them, hopefully by this week and release a new version after that. Until then, enjoy 🙂
Download: http://bit.ly/FlatFoodIcons File Content: AI, EPS, PNG files License: Free for commercial and personal use
The purpose of infinite scrolling is that you don’t have to navigate through old and new posts by reloading the page each times with them. Rather, old posts will load automatically in the bottom as you scroll down.
Challenges
Event listener for scrolling
Making an Ajax call to load more posts
In the backend, keep track of offsets and deliver posts prior to it
Discard repeated calls with same parameters to avoid redundant data lading
Event Listener
With jQuery it’s pretty easy to create an event listener which listens to window or any dom element’s scrolling. In the listener routine, you need to check whether they user has scrolled to the bottom, and that is done little differently for window object and DOM elements.
For Window Scrolling
$(document).ready(function(){
    $(window).bind('scroll',checkScroll);
});

var checkScroll = function (e){
if($(window).scrollTop() + $(window).height() +20 > $(document).height()) {
    //user scrolled to the bottom
    //now load more contents
}
For DOM elements
$(document).ready(function(){
    $(".selector").bind('scroll',checkScroll);
});

var checkScroll = function (e){
var elem = $(e.currentTarget);
if (elem[0].scrollHeight - elem.scrollTop() -elem.outerHeight()<20)
    //user scrolled to the bottom of this DOM element
    //now load more contents
}
Making an Ajax Call to load the contents
This is divided in two parts. One, in the WordPress functions file which creates an actio hook and listens for incoming Ajax requests and then serve the data and second, from the javascript to make a HTTP POST Ajax call.
WordPress get_posts() takes many parameters, but for our task we need to pass only two and leave other’s with default values. In those two variables, offset is an important one. It is not an id of any post, rather it’s the value from where we want to start loading the previous posts. So for example, if there are 10 posts displayed in our homepage, the offset will be 10, because we want to load previous posts before these tenth post.
One more important thing to note here, and that is how we populated the value of posts_per_page. We used get_option() API to retrieve the actual value of posts per page set by the blog admin from Settings->Reading section of the WordPress admin panel.
The reason for setting th same action hook callbak for both wp_ajax_no_priv and wp_ajax is to make sure that it works for both admin (logged in) and general viewers (non logged in)
In javascript
var post_offset, increment,loading=0;
(function($){
    $(document).ready(function(){
        $(window).bind('scroll',checkScroll);
    });

    var checkScroll = function (e){
        var elem = $(e.currentTarget);
        if($(window).scrollTop() + $(window).height() +20 > $(document).height()) {
            if(loading) return true;
            if(!loading) {
                loading=1;
                var params = {"offset":post_offset,"action":"load_more"}
                $.post("/wp-admin/admin-ajax.php",params,function(data){
                    if(data){
                        post_offset+=increment;
                        loading=0;
                        $(".posts").append(data);

                    }

                });
        //now load more content
    }
}
}
}(jQuery));
Few things to note here. The endpoint URL is one of them. Whenever you are implementing Ajax with WordPress, “/wp-admin/admin-ajax.php” and the use of action variable as “load_more”. Remember that we had create our action hooks with this “load_more” action value (wp_ajax_nopriv_**load_more**).
In our javascript routine, we also checked the value of loading variable hich is false by default, but set as true immediately during an Ajax call is in place and remains true until that Ajax call is finished. This helps to prevent successive call to the Ajax endpoint even before until previous calls are completed.
One more thing to note and that is how we had increase the value of post_offset variable by increment value. Both of them are populated in the index.php and contains the same vaue of WordPress option valueposts_per_page
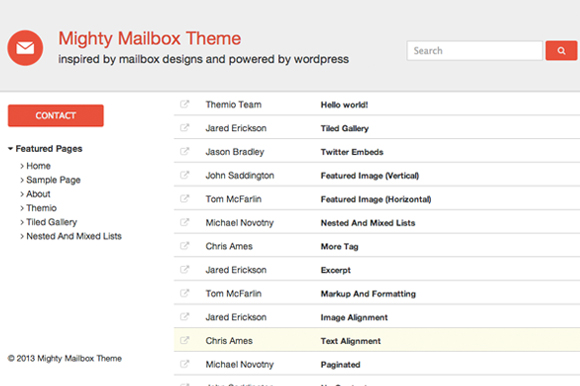
Check out our “Mailbox” WordPress theme which comes with a decent and fancy mailbox UI and has this infinite scrolling feature implemented at it’s best. Purchase today for $15
This Book will be written by some Good People in a Collaborative Effort.
Idea and work-flow
We will write a good book on wordpress together, in Bangla, to help the developers and enthusiasts start their journey in developing beautiful themes, plugins and applications completely using wordpress
To keep the flow and tone of writing equally pleasing through out the book, we will have audio files narated by one person. These audio files will be distrbuted in smaller chunks – for example each sections will have their own audio file grouped together as a chapter. Once these audio files are available to everyone, the contributors will download and compose in native bangla text.
Afer the text files are written in bangla, a group of developers will add the example source code through out the chapters.
Bundling
After the source code are attached and embedded in each chapter, we will send these files to proof readers. After correction, spell checking and fixing minor faults, these files will be sent for page layout.
The page layout group will generate the final pdf files for each of these chapters. After preparing the pdf files for all these chapters, we will bundle them together as a digital book.
Distribution
The bundled digital book will be distributed under CC-BY-NC-ND (Creative Commons Attribution, Non Commercial, No Derivative) License to make it available for free for everyone.
Wait a minute, “Jailbreak”? for wordpress.com blog? You gotta be kidding me!
Unfortunately that word goes best with your iOS devices. No one jailbreaks anything else. So pardon me for using this word to grab your attention. Back to the article, tell me what will you do in following cases
You want to deliver your regular wordpress.com blog from your own domain
You have a great blog you maintain in wordpress but you also want to deliver the contents from a subdomain of your choice
You want to use Facebook comments instead of wordpress’s own commenting system
The answer of #1 comes at a price of $25 (min). The answer of #2 is still possible by paying $13 and #3 is not possible at all as long your blog is hosted with wordpress.com.
Moreover you certainly be missing few jQuery tweaks all over your site which you could do with your hosted wordpress blog. But wordpress.com is awesome, scalable and you don’t want to host your blog with pesky/cheap hosts.
For this purpose, use wordpress-com-proxy script which is a small script runs in your hosting and deliver your wordpress.com blog from this domain. The masking and rerouting is very good so that your visitors will not be annoyed. Moreover you will have the Facebook comment plugin enabled by default to increase the engagement.
Using this script is very very easy. Follow the instructions available at https://github.com/hasinhayder/wordpress-com-proxy. All you have to to do is check out the script, modify two lines in config.php and upload somewhere (we suggest using a PaaS like AppFog or OpenShift or PagodaBox for hosting because they are just great!)
For a running example, See my actual blog at http://hasin.wordpress.com which is proxied from http://wpproxy.rs.af.cm for demonstration purpose.
wordpress-com-proxy also loads jQuery in the context so that you can now give your blog awesome look and perform amazing things as long as it is possible with jQuery. Check out the script from https://github.com/hasinhayder/wordpress-com-proxy and Enjoy your jailbroken wordpress blog
Shameless Plug
We develop beautiful Admin Panel templates for the web application developers. Our recent product is “Bolt” which is responsive and built on top of Twitter’s bootstrap. Give it a try and let us know how do you like it.
Bolt Responsive Admin Panel Template for Developers
I have been working whole day today on writing this rest client library for php developers to communicate with Openshift REST api. OpenShift is a fantastic Polyglot PaaS (Platform-as-a-Service) brought to you by RedHat. To perform various operations with your openshift account you need to use their command line tool “rhc” (a gem, requires ruby). Their web based admin panel is good for starters, but you need to master the rhc for other essential tasks, for example to add a domain alias or to start/stop/restart your application.
This OpenShift-PHP-Client library can directly invoke their rest api and makes it easier for you if you are a PHP developer. This application is in a good stage at this moment and you can do everything with domains, applications and cartridges.
How to use this library? First checkout the library from it’s github repo located at https://github.com/hasinhayder/openshift-php-client. Then see the source code of the example.php. The example contains the bare minimum, you can actually do a lot of other things with these Domain, Application and Cartridge object. To understand the scope, feel free to check their source code as well 🙂
[sourcecode language=”php”]
include_once("lib/openshift.php");
$username = "YourUsername";
$password = "YourPassword";
$openshift = new OpenShift($username,$password);
// Create a New Domain
$data = $openshift->getDomainManager()->createDomain("osphp");
// List Domains
$data = $openshift->getDomainManager()->getDomains();
// Rename the Domain
$data = $openshift->getDomainManager()->getDomain("osphp")->updateName("moonlander") ;
// Create a Zend 5.6 App Container
$data = $openshift->getDomainManager()->getDomain("osphp")->createApplication("restclient","zend-5.6");
// Get all Applications
$data = $openshift->getDomainManager()->getDomain("osphp")->getApplications();
// Get Application Details
$data = $openshift->getDomainManager()->getDomain("osphp")->getApplication("restclient")->getDetails();
// Stop an Application
$data = $openshift->getDomainManager()->getDomain("osphp")->getApplication("restclient")->stop();
// Start an Application
$data = $openshift->getDomainManager()->getDomain("osphp")->getApplication("restclient")->start();
// Restart an Application
$data = $openshift->getDomainManager()->getDomain("osphp")->getApplication("restclient")->restart();
// Reload an Application
$data = $openshift->getDomainManager()->getDomain("osphp")->getApplication("restclient")->reload();
// Add an Alias
$data = $openshift->getDomainManager()->getDomain("osphp")->getApplication("restclient")->addAlias("mydomain.com");
// Remove an Alias
$data = $openshift->getDomainManager()->getDomain("osphp")->getApplication("restclient")->removeAlias("mydomain.com");
Add a MySQL Cartridge
$data = $openshift->getDomainManager()->getDomain("osphp")->getApplication("restclient")->addCartridge("mysql-5.1");
// Delete a MySQL Cartridge
$data = $openshift->getDomainManager()->getDomain("osphp")->getApplication("restclient")->getCartridge("mysql-5.1")->delete();
// There are many other methods supported by applications, domains and the cartridges. For details, check their source code.
[/sourcecode]
OpenShift PHP Client library is released under MIT License. I am working continuously to add more features to it.
Enjoy!
Shameless Plug
We develop beautiful Admin Panel templates for the web application developers. Our recent product is “Bolt” which is responsive and built on top of Twitter’s bootstrap. Give it a try and let us know how do you like it.
Bolt Responsive Admin Panel Template for Developers
This is very useful in certain situations, where you want to draw your own tag cloud or show the number of posts beside each tags in your wordpress blog, i.e (php [10], javascript [3]). I was searching for the solution while ago and found wp_tag_clouds but that doesn’t return the number of posts for each of these tags. Shortly after that, found get_terms function which was a great relief actually. Because you can fetch all types of taxonomies with useful data. And the following code snippet solved my problem. Don’t forget to check the reference in codex.
We develop beautiful Admin Panel templates for the web application developers. Our recent product is “Bolt” which is responsive and built on top of Twitter’s bootstrap. Give it a try and let us know how do you like it.
Bolt Responsive Admin Panel Template for Developers
Custom meta boxes are very useful for collecting arbitrary information from the post authors, and then take decisions based on those information. For example, if you have a custom post type as “stores” and you want to collect “latitude” and “longitude” for each “store” type post, meta boxes are the way to do it conveniently. So how you can create a meta box and collect meta information from the users? The whole workflow is divided into three parts
1. Create the meta box design/markup
2. Attach them with the post/custom-post
3. Save the user input (and reuse it when required)
Creating the metabox markup: Inside your theme folder, lets create a new folder named “metaboxes” to organize all the metaboxes in same place. So once the folder is created, create a new file name coordinates.php inside the metabox folder. So the final path to the coordinates.php is your.theme.folder/metaboxes/coordinates.php. This file contains the simple markup to accept latitude and longitude from the users for our custom post type “stores”. Here comes the markup for that file
It’s just a simple form – no big deal, eh? At this moment this form can only take user input. But to retain the previously entered value we need to work on it and add some extra lines. I will come back later to this file.
Registering the custom post: There is a nifty tool out there which can help you to create the essential code to register a custom post type, unless you want to write all of them by yourself (I prefer writing my own, always). Create a new file named “custom-post-stores.php” inside your theme folder and include this file in the functions.php of your theme. Here is the code of the custom-post-stores.php
I am not going to explain what all of these parameters do in the register_post_type function, but of course, please, have a look at the beautiful reference in codex.
The code above will register a new custom post “stores” and once you logged into the wordpress admin panel, you will notice a new “Stores” menu visible on the left side. From there you can add new stores type posts.
Attaching metaboxes to the custom post: Lets attach the previously created metabox with this new “stores” type posts. In the same “custom-post-stores.php” append the following codeblock
[sourcecode lang=”php”]
/*this function will include the metabox in current posts scope*/
function customPostGeoinfo()
{
global $post;
include_once("metaboxes/coordinates.php");
}
/*this function will save the user input from the meta box*/
function customPostSave($postID)
{
// called after a post or page is saved
if ($parent_id = wp_is_post_revision($postID)) {
$postID = $parent_id;
}
$items = array("store_latitude","store_longitude"); //form elements of the meta box
foreach ($items as $item) {
if ($_POST[$item]) {
updateCustomMeta($postID, $_POST[$item], $item);
}
}
}
function updateCustomMeta($postID, $newvalue, $field_name)
{
// To create new meta
if (!get_post_meta($postID, $field_name)) {
add_post_meta($postID, $field_name, $newvalue);
} else {
// or to update existing meta
update_post_meta($postID, $field_name, $newvalue);
}
}
/* now make them working via wordpress action hooks */
Tada, we are done. But only one thing left and that is revising our metabox to retain the old user value. So lets rewrite the metaboxes/coordinates.php with the following code
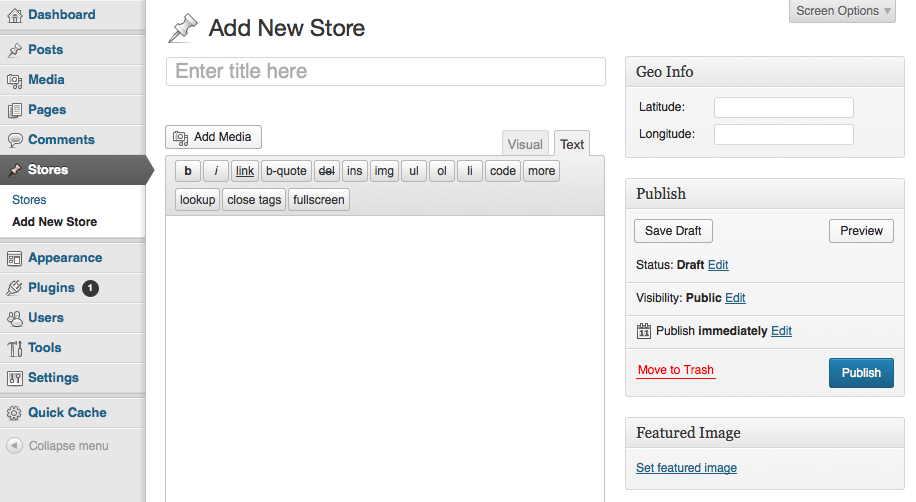
That’s it. The out put will look like the following one. Please notice the “Geo Info” metabox on the top right corner and “Stores” menu on the left menu.
Custom post with meta box
Shameless Plug: We develop beautiful themes and admin panel templates for your web applications. Why don’t have a look at our portfolio in themeforest and purchase a few to support us on the long run.
WordPress is a beautiful cms, from top to bottom, for both the developers or authors. It’s action and filter hooks made the developers life a lot easier who develop custom solutions on top of wordpress. Today I went throuh a problem where I had to define category template for a parent category type, and then had to make sure that all the child categories under that parent must inherit the same template used by the parent category.
Defining template for a particular category is easy. All you have to do is create a file named as “category-.php”. So if your caregory slug is “stores” then the template name will be “category-stores.php” and as soon some viewers come to http://your.wp.app.url/category/stores that particular template will be used to render the request.
Now the problematic part is I need a few subcategories under the “stores” category which must inherit that same template “category-stores.php”, because the look-n-feel and content are mostly similar. And also there is no default template naming convention for the sub categories. So I had to write an action hook which hooks the “template_redirect” action and then renders the same template used by parent category. Here is the code I used inside functions.php
function inheritParentTemplate() {
if (is_category()) {
$catid = get_query_var(‘cat’); //current category id
$category = get_category($catid);
$parent = $category->category_parent; //immediate parent
if ($parent){
$parentCategory = get_category($parent);
if("stores"==$parentCategory->name){
if ( file_exists(TEMPLATEPATH . ‘/category-‘ . $parentCategory->slug . ‘.php’) ) {
include (TEMPLATEPATH . ‘/category-‘ . $parentCategory->slug . ‘.php’);
}
return true;
}
}
}
}
[/sourcecode]
Thats it. From now on, every child category will be rendered using the same template “category-stores.php“.
Shameless Plug
We develop beautiful Admin Panel templates for the web application developers. Our recent product is “Bolt” which is responsive and built on top of Twitter’s bootstrap. Give it a try and let us know how do you like it.
Bolt Responsive Admin Panel Template for Developers
Parsing incoming emails is a common task for many web application which deals with emails, and then take decision on the parsed contents. However, piping the incoming mail stream to an external script is not everyone’s food and it needs good knowledge on shell scripting and also you need to be good with your mail server to install/configure the pipe properly. So there are third party services out there which makes it easy for you by accepting your emails to predefined mailboxes. They also parse the email and post the content over HTTP to an external script (i.e webhook) which makes the whole process a lot easier. You just outsource the email parsing to these third party providers and spend time rather on analyzing the content of the email leveraging their email->http webhook. Cloudmailin, MailNuggets, and MailGun are one the few providers which I’ve tested and they work really good with very low latency. In this article I am going to show you how to configure your free Mailgun account to accept incoming mails, parse and then accept the mail content to your php script.
Step1: Register a free account with MailGun
Don’t worry – they dont charge. And Mailgun’s free plan is quite good with 200 mails/day which is pretty good during development phase. Once you are ready, you may opt in to purchase their plans which suit you best.
Step 2: Add a domain
Free accounts are restricted to use *.mailgun.org domain for now. So just log into you Mailgun control panel and create your own domain.
Step 2: Create a mailbox to accept incoming mails
You need to configure a mailbox to start accepting inbound emails first, so you can process them later using different rules. Just go to your mailboxes tab in the Mailgun control panel and create a new mailbox.
Step 4: Link your incoming emails to your external script.
This step was a little confusing at first and I really didnt understand how to achieve the result. Mailgun will automatically parse these incoming mails, which you can filter by recipients or senders or by wildcard and then forward to your external script. To do that, just go to your Routes tab in the Mailgun control panel and create a new route, like the one shown in the screenshot below.
See the forward() function does the job where my confusion began – I was almost clueless 😛
Ok we are done. Mailgun will now accept all mails to this mailbox [email protected] and parse the mail content including attachments, and then post the parsed contents as an array to the external PHP script we have configured in step 4. In your php script just capture those data from $_POST and do whatever you want to.
Shameless Plug
We develop beautiful dashboard and admin panel templates for the web application developers, which you can plug into your application easily. These templates comes with well documented code, even better documentation of components and a pack of essential plugins. Check out one of our admin template “Utopia” and grab your copy if you like it