Github URL: https://github.com/hasinhayder/Nanimator
Live Demo: http://hasinhayder.github.io/Nanimator/index2.html
I got the idea of Nanimator Library while working with jQuery Transit library and CSS3 transforms couple od days ago. I was chaining the animation of numbers of objects by writing callbacks for each of them and suddenly I got the idea that I can actually do it pretty easily by converting these whole thing as a jQuery Plugin. This is how Nanimator is born. It’s primary purpose is to animate a set of DOM elements inside a container, mainly translate, translateX, translateY and opacity. It also reduces your code by writing almost nothing at all, except initializing the library.
Nanimation serves it’s purpose pretty well by queueing the DOM elements in a stack, maintaining a chain among them (which you can also break, but I will highlight that later in this article). Nanimator uses the fantastic jQuery Transit plugin under the hood to wrap everything up for you.
Let’s see how easy it is to start using Nanimator Library by creating a small example first
Dependencies
well, being a jQuery plugin – Nanimator requires you to include jQuery library before including it in your application. Beside that, jQuery Transit plugin is also required. Let’s include them 🙂
[code language=”html”]
<script type="text/javascript" src="http://code.jquery.com/jquery-1.10.2.js" ></script>
<script src=’http://cdnjs.cloudflare.com/ajax/libs/jquery.transit/0.9.9/jquery.transit.min.js’ type="text/javascript"></script>
<script src=’http://hasinhayder.github.io/Nanimator/js/jquery.nanimator.js’ type="text/javascript"></script>
[/code]
Now you have all the necessary files included and ready to use, lets write some markup
[code language=”html”]
<div id="container">
<div class="object1 nanimate">Hello</div>
<div class="object2 nanimate">World</div>
</div>
[/code]
And let’s style them using CSS
[code language=”css”]
#container{
position:relative;
}
.object1{
font-size:24px;
with:160px;
margin-right: 10px;
float:left;
}
.object2{
font-size:24px;
}
[/code]
It’s very important that you set the position of the parent container as relative/absolute for successful animation. So don’t forget that when you work with Nanimator library. Also add an “nanimate” class to the child DOM elements which you want to be animated. You can override this classname, but we will talk about that later.
The code above will show you plain “Hello World” in an old fashioned way, but wait a minute – we are going to animate them using Nanimator.
[code language=”javascript”]
$("document").ready(function(){
$("#container").nanimate();
});
[/code]
You can see this full code at http://codepen.io/anon/pen/xKDco and the resulting animation at http://codepen.io/anon/full/xKDco
Wasn’t that incredibly simple? Maybe a little boring but there are fantastic data attributes supported by Nanimator using which you can add extra toppings. Let’s change our markup like this and we will see the child elements are animated from opposite direction.
[code language=”html”]
<div id="container">
<div data-direction="right" class="object1 nanimate">Hello</div>
<div data-direction="left" class="object2 nanimate">World</div>
</div>
[/code]
The code is available at http://codepen.io/hasin/pen/Iwdqb and the result can be seen at http://codepen.io/hasin/full/Iwdqb
Here’s a complete list of data atributes which are supported by Nanimator, let’s have a look at them
Supported data attributes
data-driection: You may specify the direction of the animation, supported values are “top”,”bottom”, “left” and “right”
data-distance: The distance covered by animated object during animation. supported values are any integer with a default value of “40”, i.e 40px
data-time: The duration of animation which is expressed in milliseconds. It has a default value of 500, i.e milliseconds
data-fade: This is by default set to “false”. But if set to true, the animated objects will fade out after the animation. You can also control the time before it fades out by passing the value to data attribute “data-fadedelay”
data-fadedelay: This is the time in milliseconds by which the animation will delay before fading an object out.
data-release: This is possibly the most important attribute for developers who wants to deal with the internal chaining mechanism of Nanimator. By default, Nanimator maintains a queue of DOM elements and one element is animated once the previous one’s animation is complete. Now, if you specify the data-release to true then Nanimator will not wait for previous animation to complete, rather they will be animated simultaneously.
Events
Nanimator fires a couple of events for each objects before starting the animation, and after completeing the animation. For example “nanimation.started” and “nanimation.finished” are fired before the animation is started, and after the animation is complete.
Nanimator also fires an event named “nanimation.complete” for the DOM container element, after all the children’s animation is done. Have a look at jquery.nanimato.js to see the available events 🙂
You can have a look at the following examples and their source code to understand how easy it is to use Nanimator Library, and how beautifully you can animate almost anything with little efforts 🙂
Examples
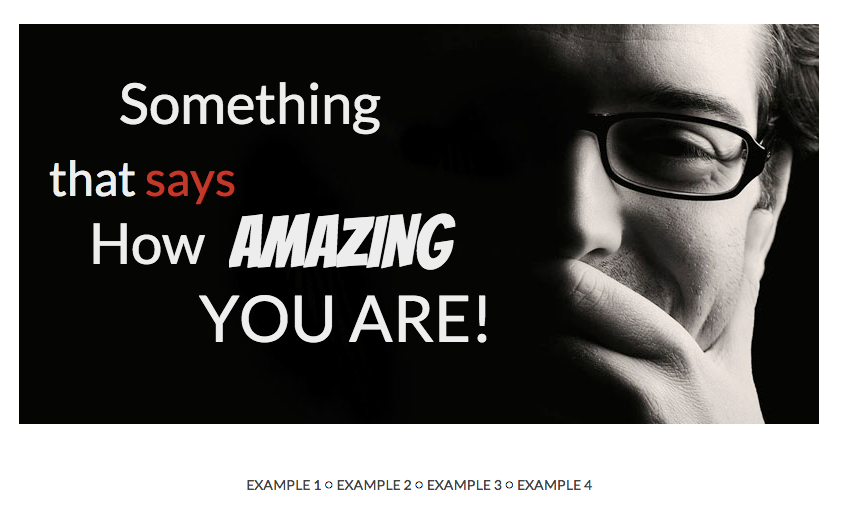
1. Simple Animation: http://hasinhayder.github.io/Nanimator/index.html
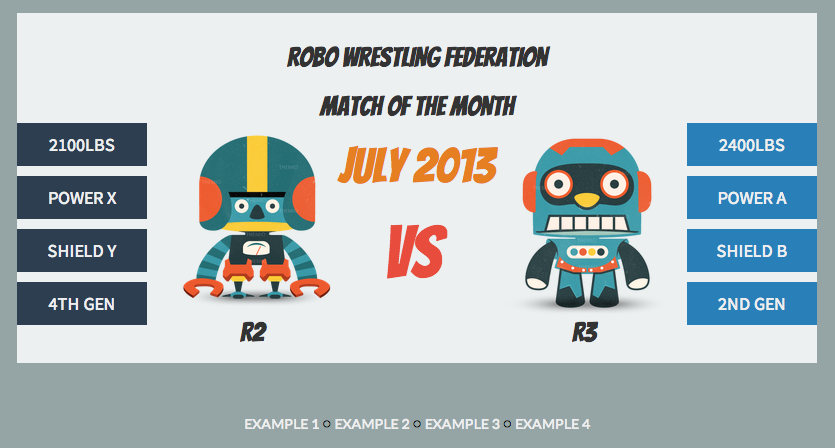
2. Profile Animation: http://hasinhayder.github.io/Nanimator/index2.html
3. Horizontal Line Chart: http://hasinhayder.github.io/Nanimator/index3.html
4. A mashed up Animation: http://hasinhayder.github.io/Nanimator/index4.html
Feel free to fork the Nanimator Library in Github at https://github.com/hasinhayder/Nanimator. Pull requests are most welcome.
Happy Nanimating 🙂
Oh by the way, Nanimator is brought to you by Happy Monster, our new start up where two of us (The WordPress Wizard and Frontend Engineer, and the Creative Designer) are accepting new WordPress jobs. So if you are looking for a team, drop us a line 🙂


