Migrating Mattermost from MySQL to PostgreSQL: A Step-by-Step Guide
If you’re running Mattermost on MySQL, it’s time to plan a move—Mattermost is officially ending MySQL support. While this might feel like a hassle, switching to PostgreSQL brings real benefits: better performance, improved scalability, and ongoing support. There isn’t a simple, official step-by-step guide from Mattermost for this migration. But don’t worry—this guide will walk you through the process, making it as smooth as possible!
In this step-by-step guide, you’ll learn how to:
- Identify your current MySQL configuration
- Prepare your databases
- Migrate data using official tools
- Switch Mattermost to use PostgreSQL
- Back up and restore PostgreSQL data
Step 0: Locate Your Current MySQL DSN
To get started, locate your current MySQL DSN (Data Source Name). It’s stored in your Mattermost config file:
/opt/mattermost/config/config.jsonLook for the following section:
"SqlSettings": {
  "DriverName": "mysql",
  "DataSource": "mysqluser:your_mysql_password@tcp(localhost:3306)/mattermost?charset=utf8mb4,utf8&writeTimeout=30s&readTimeout=30s"
}
Take note of this value; you’ll use it with migration-assist and pgloader. Check the installation guide of migration-assist and pgloader
Step 1: Backup Your MySQL Database
# Export the current MySQL database into an SQL dump file
mysqldump -u mysqluser -p --single-transaction mattermost > mattermost_backup.sql
This backup ensures you can roll back if something fails during migration.
Step 2: Fix MySQL Schema with migration-assist
Download the migration-assist tool and run:
# Normalize and clean MySQL data for better compatibility with PostgreSQL
./migration-assist mysql "mysqluser:your_mysql_password@tcp(localhost:3306)/mattermost?charset=utf8mb4,utf8&writeTimeout=30s&readTimeout=30s" \
  --fix-artifacts --fix-unicode --fix-varchar
This tool corrects charset issues, removes legacy artifacts, and prepares the schema.
Step 3: Set Up PostgreSQL for Mattermost
First, switch to the postgres user and create a dedicated role for Mattermost:
# Create a new PostgreSQL user (role) with login privileges
sudo -u postgres psql -c "CREATE ROLE mmuser WITH LOGIN PASSWORD 'your_secure_password';"

# Allow mmuser to create databases if needed (optional but useful)
sudo -u postgres psql -c "ALTER ROLE mmuser CREATEDB;"
Now create the database:
# Create the Mattermost database and assign mmuser as the owner
sudo -u postgres createdb -O mmuser mattermost

# Grant mmuser full access to the public schema
sudo -u postgres psql -d mattermost -c "ALTER SCHEMA public OWNER TO mmuser; GRANT ALL ON SCHEMA public TO mmuser;"
Step 4: Prepare PostgreSQL Schema with migration-assist
# Apply schema migrations on the new PostgreSQL database
./migration-assist postgres "postgres://mmuser:your_secure_password@localhost:5432/mattermost?sslmode=disable" \
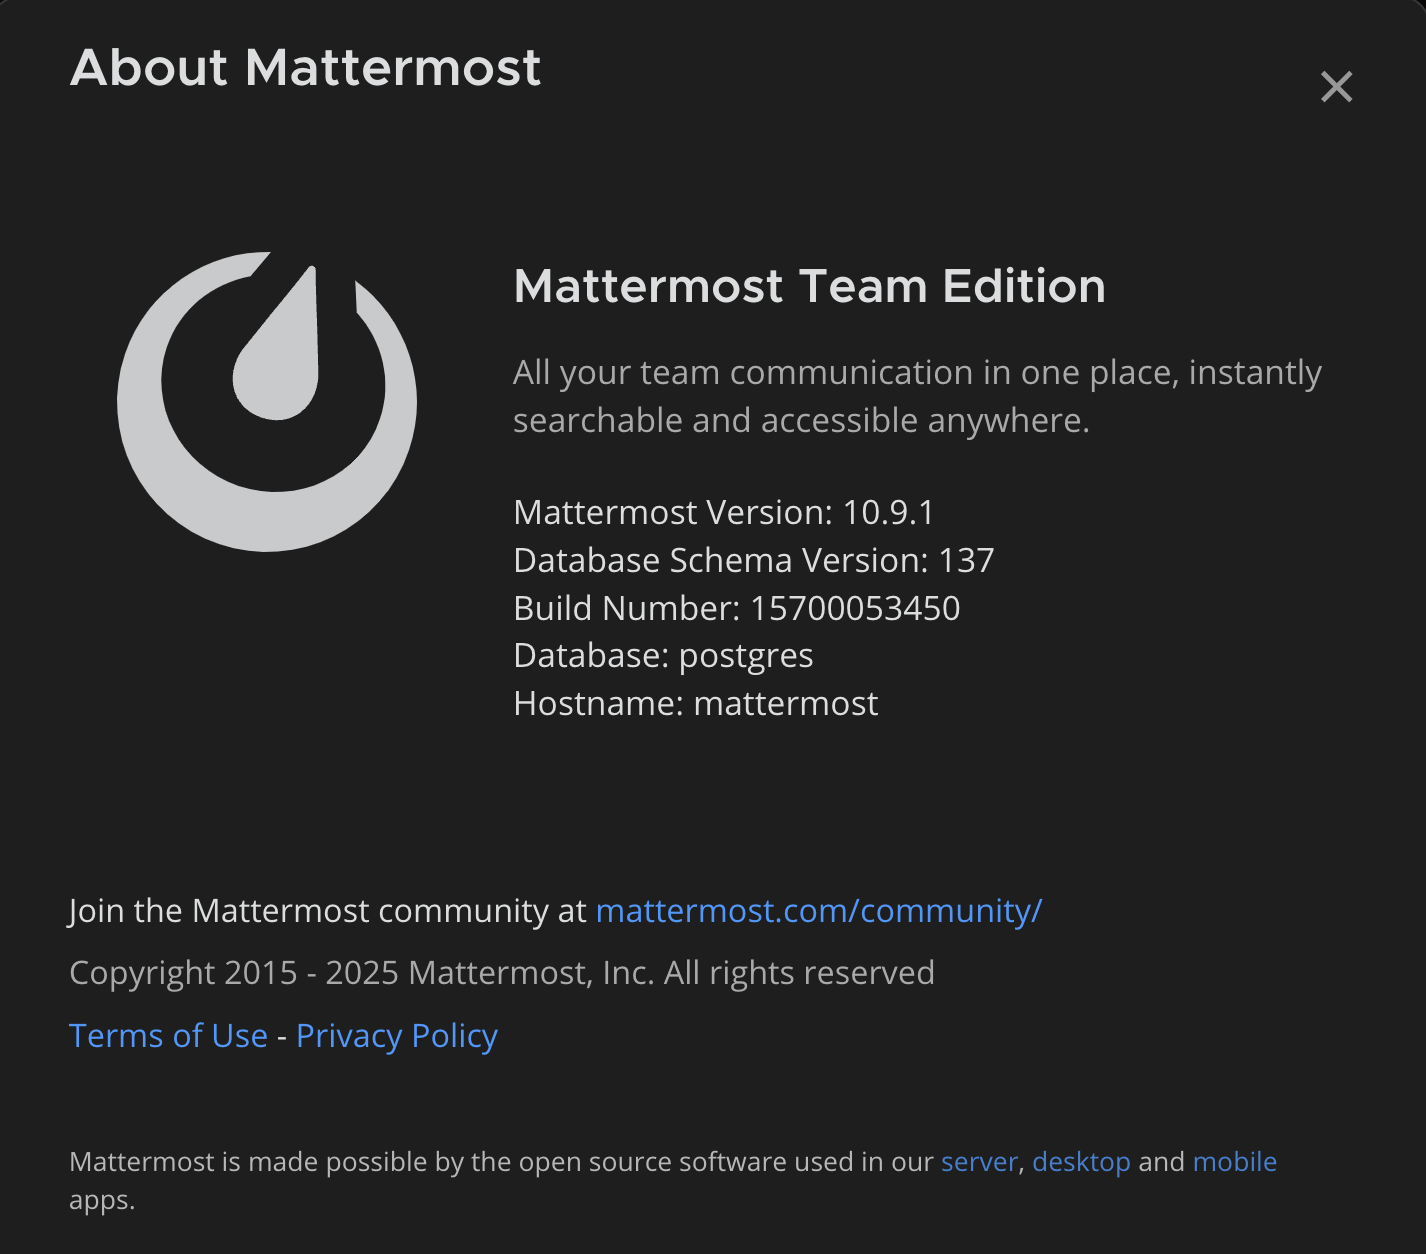
--run-migrations --mattermost-version="10.8.3"Replace the version with your actual Mattermost version. This prepares the PostgreSQL schema to match the app’s expectations.
Step 5: Transfer Data Using pgloader
Create a file named load.load:
LOAD DATABASE
     FROM mysql://mysqluser:your_mysql_password@localhost:3306/mattermost
     INTO postgresql://mmuser:your_secure_password@localhost:5432/mattermost
 WITH include no drop,
      create no tables,
      preserve index names,
      batch rows = 1000,
      workers = 8,
      concurrency = 4
 SET work_mem to '256MB',
     maintenance_work_mem to '512 MB'
 ALTER SCHEMA 'mattermost' RENAME TO 'public'
 CAST type datetime to timestamptz
     drop default drop not null using zero-dates-to-null,
     type date drop not null using zero-dates-to-null,
     type decimal when (= precision 20) to numeric,
     type longtext to text,
     type mediumtext to text,
     type tinyint when (= precision 1) to boolean
;
Now run:
# Use pgloader to copy data from MySQL to PostgreSQL using the cleaned schema
pgloader load.load
This step migrates the actual data.
Step 6: Update Mattermost Configuration
Edit your Mattermost config file:
# Open Mattermost's configuration
vim /opt/mattermost/config/config.json
Update this section:
"SqlSettings": {
  "DriverName": "postgres",
  "DataSource": "postgres://mmuser:your_secure_password@localhost:5432/mattermost?sslmode=disable&connect_timeout=10"
}
Save and exit.
Step 7: Restart Mattermost
# Restart the Mattermost service to begin using PostgreSQL
sudo systemctl restart mattermost
Your Mattermost server should now be running on PostgreSQL.
Step 8: PostgreSQL Backup and Restore
Backup
If you need to backup your postgresql database, you can follow these steps.
# Create backup directory and assign correct permissions
sudo mkdir -p /opt/backups
sudo chown postgres:postgres /opt/backups

# Dump the PostgreSQL database in custom format
sudo -u postgres PGPASSWORD='your_secure_password' pg_dump -h localhost -U mmuser -d mattermost -F c -f /opt/backups/mattermost.bak
Restore
Just in case you want to restore an old back, here is how you can do it.
# Create a new blank database to restore into
sudo -u postgres createdb -O mmuser mattermost

# Restore from the backup file
sudo -u postgres PGPASSWORD='your_secure_password' pg_restore -h localhost -U mmuser -d mattermost /opt/backups/mattermost.bak
Final Thoughts
Migrating Mattermost from MySQL to PostgreSQL is now becoming mandatory. This guide provides the cleanest and most reliable path to perform the migration using official tools.
Important tips:
- Always test the migration on a staging server before deploying to production.
- Verify third-party integrations after the migration.
- Use PostgreSQL-native monitoring tools post-migration for optimal health checks.
Good luck!